Perspective of the ANZACs in Gallipoli
|
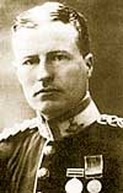
The ANZAC forces were under the command of Lieutenant General William Birdwood The Australians were sent in with New Zealand after the naval forces from France and Britain had failed to get anywhere. Although the attack from the ANZACs broke through the front lines of the Ottoman Empire, they were told to evacuate and abort the mission due to the hard to navigate and mountainous terrain ahead of them (WW1 Gallipoli, 2013). At first, the Australians agreed that the sacrifice of war was worth it, but after a few years of demanding for more soldiers and sacrifices, the Australians became divided on this theory of war. The ANZACs had a total of 11, 430 casualties after the battle had ended. (Gallipoli Campaign, 2013)
To learn why the ANZACs were sent, click this button.
|
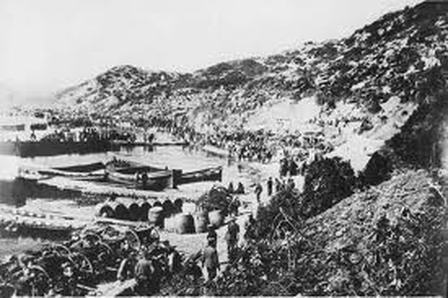
ANZACs landing at Gallipoli, from: http://www.boroniabattlefieldtours.com.au/tours/gallipoli-2015-anzac-day-battlefield-tour/
|
It was true, that most of the ANZAC soldiers didn't actually know where they were heading, or what their objective was. This may have been because of how badly managed the campaign was, but it must have been very scary for the ANZAC soldiers. A diary entry from Ellis Ashmead-Bartlett states that the soldiers didn't know where they were going.
|
The diary entry states: "We all gave up our cabins to the officers in order that they might obtain as much rest as possible, and personally when I turned in at about half past ten, I snatched a few hours of sleep on the floor. At sunset of course all lights on board had been extinguished, and we steamed slowly through the night to our unknown destination, and to an unknown fate." (Ashmead-Barlett E. 1915) |
Ellis Ashmead-Bartlett retrieved from: http://www.anzacsite.gov.au/1landing/diary.html
|
